

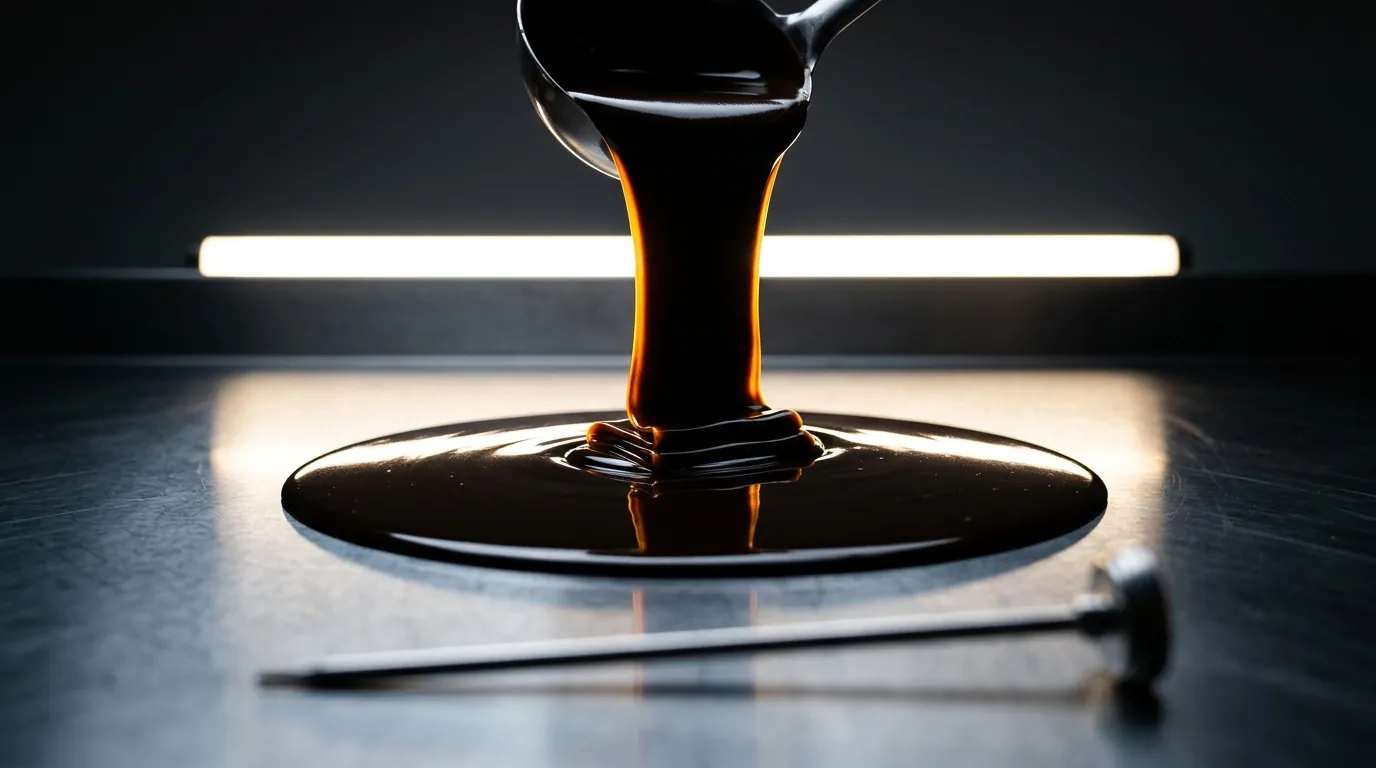
Tempering is controlled crystallisation of cocoa butter. There is one goal: to make the fat set in the stable crystal form that chocolatiers call form V. Only that form gives a mirror shine, a dry snap, the contraction that lets a bonbon release from its mould, and the ability to sit for weeks without turning pale.
Melt chocolate and let it set on its own, and cocoa butter crystallises at random: you get a dull, soft, smudging mass that will streak over within a day or two. Nothing was wrong with the recipe — there is no recipe here at all, only temperature and time.
What happens inside the chocolate
Cocoa butter is not a single substance but a mix of triglycerides that can set in six different ways. The forms differ in how tightly the molecules pack and therefore in melting point: from roughly 17 °C for the loosest to 36 °C for the densest.
Two of them matter in practice. Form V melts at about 34 °C, which means it holds at room temperature and melts in the mouth. Form VI melts at about 36 °C and is more stable still, but it forms slowly, inside the finished piece — and its growth over time is exactly what fat bloom is.
Every other form is unstable. The point of tempering is to leave the cooling mass seeded with form V crystals only, the rest destroyed by heat. Hence the logic shared by all three methods: melt everything completely, drop the temperature far enough for crystals to grow, then raise it slightly to melt off everything except the form you want.
The temperature chart
Three reference points for each type of chocolate: how far to heat, how far to cool, and what temperature to work at. The figures are for commercially produced couverture with standard cocoa butter content; individual brands may differ by a degree, and that will be printed on the bag.
| Chocolate | Melt to | Cool to | Working temperature |
|---|---|---|---|
| Dark | 45–50 °C | 27–28 °C | 31–32 °C |
| Milk | 40–45 °C | 26–27 °C | 29–30 °C |
| White | 40–45 °C | 25–26 °C | 28–29 °C |
The differences come down to composition. Milk and white chocolate contain milk fat, which softens cocoa butter and lowers the crystallisation point, so both the cooling and the working temperature drop. White chocolate has no cocoa liquor at all and is far more sensitive to overheating: above 45 °C the milk proteins and sugar begin to scorch, the mass turns grainy, and it will not come back.
Method one: seeding with callets
The most predictable approach and the only one that needs neither a marble slab nor practised hands. The logic is simple: instead of growing form V crystals yourself, you add them ready-made.
Two thirds of the chocolate is melted to the top temperature in the chart. The remaining third — unmelted callets, in which the cocoa butter is already in its stable form — is stirred into the hot mass. The callets melt, absorb heat and seed the mass with the right crystals at the same time. The temperature drops straight to the working point; no separate cooling stage is needed.
The one thing that matters here is stirring until everything has dissolved. A piece left sitting at the bottom will show up later as a lump in the finished piece, and an under-stirred mass will be tempered unevenly: part of it sets with a shine, part stays matte.
Method two: tabling on stone
The classic professional method and the fastest at volume. The chocolate is melted completely, two thirds is poured onto cold stone and worked with a scraper: kept moving in a thin layer, it gives up heat to the slab and cools to the lower temperature in the chart. The thickened chocolate then goes back into the remaining hot third, and the blend lands at working temperature.
The stone must be cold and, more importantly, dry: a single drop of water will seize the chocolate into a thick paste on contact. For the same reason the scraper is wiped dry rather than rinsed.
Marble is not compulsory — granite or any massive stone surface works. What matters is thermal mass, not the type of rock: a thin worktop will warm up on the first batch and stop cooling anything.
Method three: the microwave
For small quantities, up to half a kilo, and it works better than its reputation suggests — on one condition: heat in bursts.
The chocolate goes into the microwave at medium power in twenty to thirty second intervals, and the mass is stirred after every one. The idea is never to melt it fully: when roughly a quarter of the callets are still intact, the heating stops and the rest is dissolved by stirring. This is the same seeding as in the first method, except the source of stable crystals is the under-melted chocolate rather than added callets.
There is one danger and it is well known: microwaves heat unevenly, and the centre of the mass can shoot well past 50 °C while the edges are still cool. Hence the short intervals and the compulsory stir between them — without it the result is a lottery.
How to check the result
The test takes five minutes and is done before the chocolate goes anywhere near a mould. Dip the tip of a knife or the corner of a sheet of parchment into the chocolate and leave it at room temperature, around 20 °C.
- Properly tempered chocolate sets in three to five minutes, first as an even satin layer, then picking up shine.
- The film releases cleanly from the parchment and breaks with a dry snap.
- There are no streaks, bands or matte patches on the surface.
If the sample is still tacky after ten minutes, or sets in blotches, tempering has failed. The mass can be taken back up to the top temperature and started again: chocolate takes this in its stride, and you cannot ruin it by re-tempering. The reasons it refuses to crystallise are worth a separate look, though — there are seven of them, and most have nothing to do with the thermometer and everything to do with what is going on around it: humidity, draughts, the temperature of the room.
What you actually need
Tempering asks for very little equipment: an accurate fast-reading thermometer, a silicone spatula, and a bowl that does not give up heat in jumps. A steel bowl cools faster than plastic, which helps on the way down but makes holding the working temperature harder — keep a gentle heat source at hand to bring the mass back into range.
After that it is practice. All three methods, with the consistency shown at every stage, are covered in the masterclasses tempering with callets and tempering on stone.